Introduction
OpenClaw is a self-hosted AI assistant. It can be used to access the underlying VPS, run commands on the system, talk to LLM servers, and send and receive commands and output using messaging platforms like Telegram, WhatsApp, Discord, and more. It can also access many useful tools known as skills.
OpenClaw lives on a system 24/7 and can perform chained automation. In this guide, we will deploy the OpenClaw gateway on an EC2 instance, wire it to an OpenAI-compatible custom API. So, we can access all models without switching providers. And connect OpenClaw to a Telegram bot to access it without connecting to the VPS.
Architecture and Prerequisites
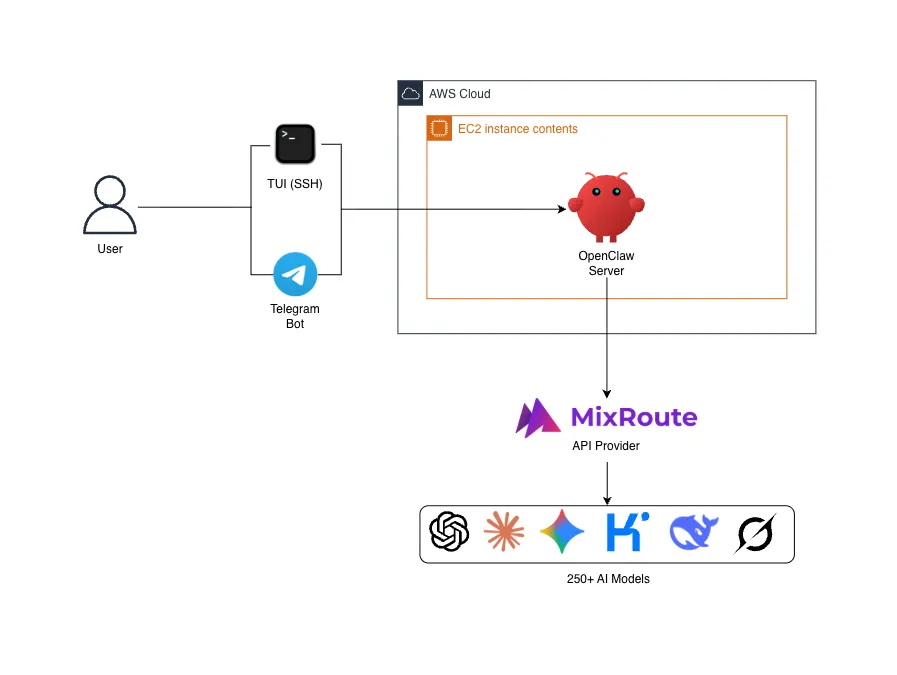
This is a high-level architecture for how a user will access OpenClaw.
Prerequisites:
- Access to an AWS account with the necessary permissions to create an EC2 instance
- A telegram account with full access
- Account in the LLM API provider
Step 1: EC2 Instance Setup on AWS
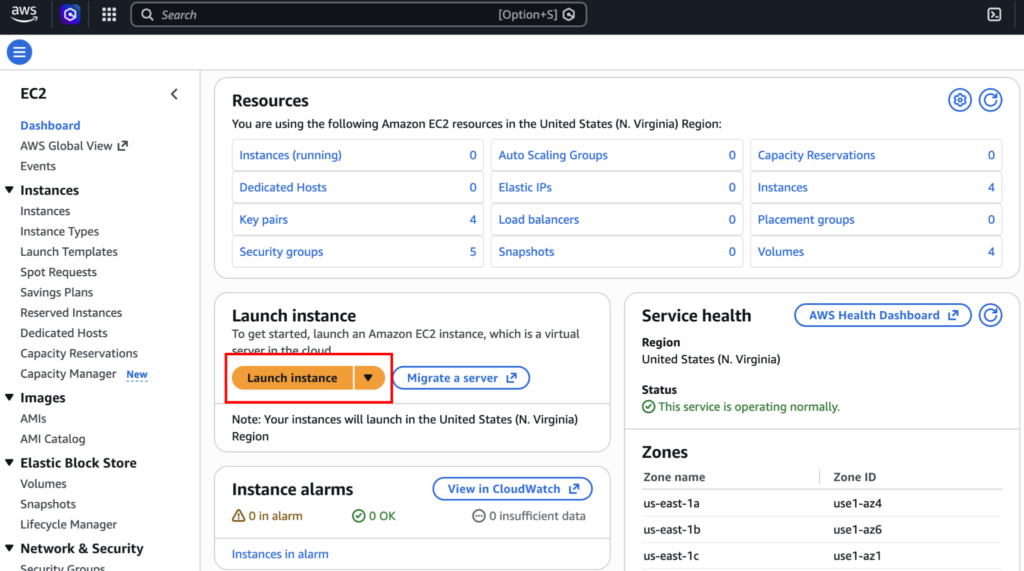
First, make sure you are logged in with your AWS account. Navigate to the EC2 dashboard, and click on “Launch instance”.
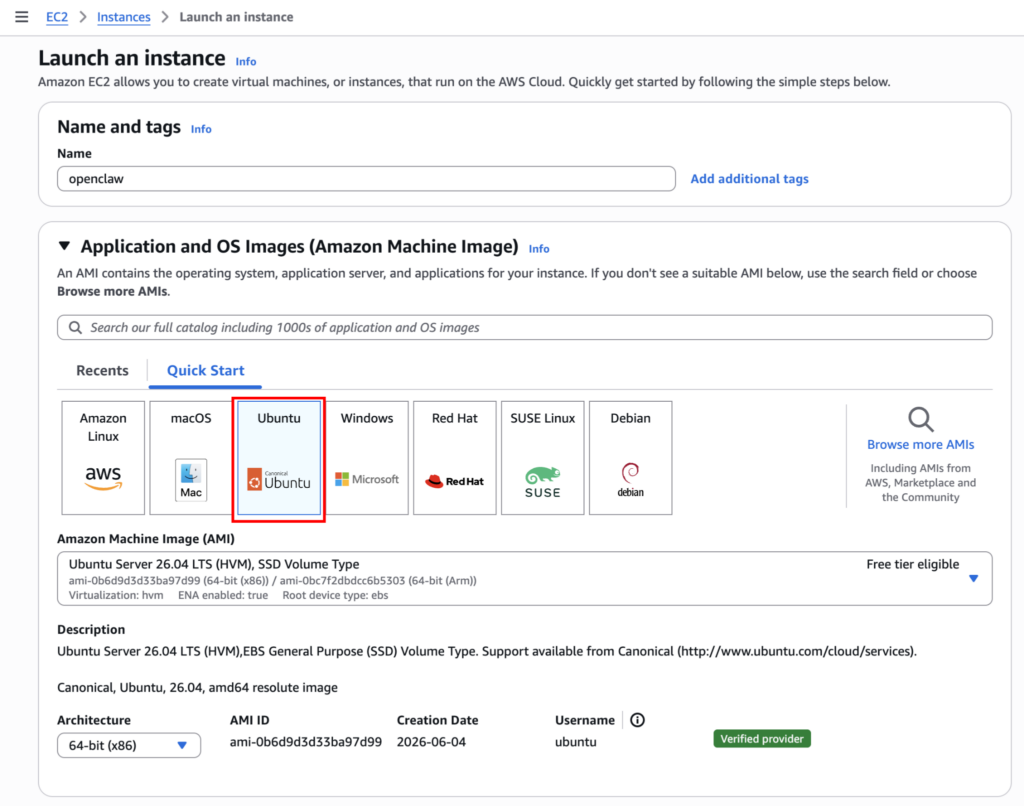
Name the instance and select the operating system “Ubuntu”. You can also select another OS of your choice.
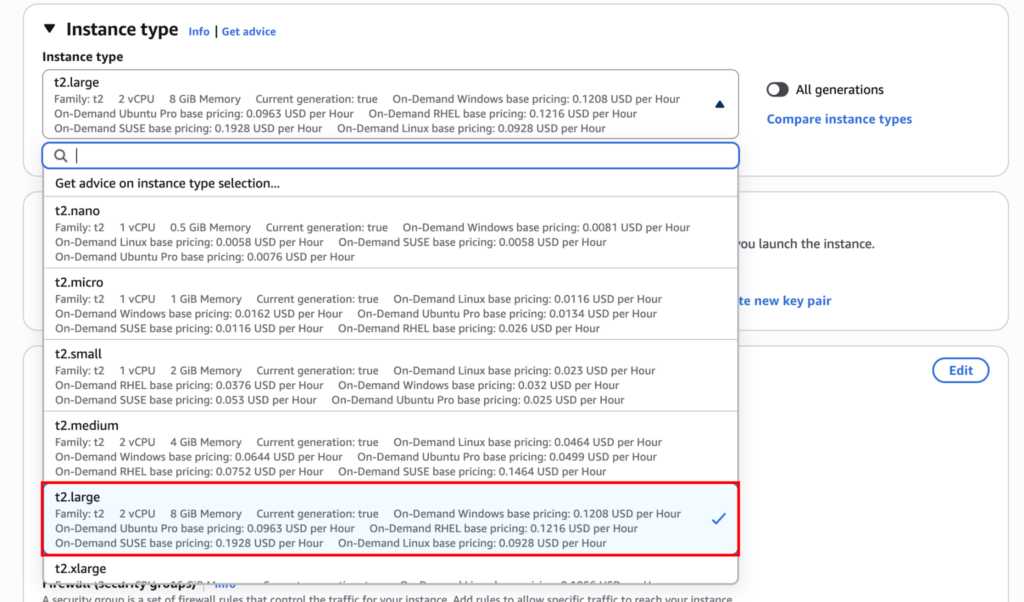
In instance type, select t2.large or higher. For our demonstration, 8 GB of RAM and a 2v CPU will be enough. You may need to change it depending on your requirements.
Select or create a separate keypair for this instance. This will let you log in from the terminal and use the OpenClaw WebUI.

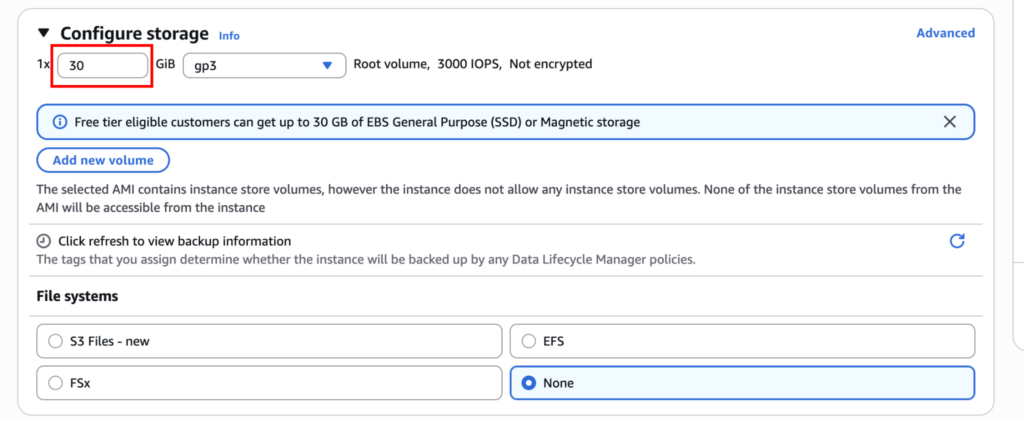
In the configure storage section, make it 30 GB. You can set it higher, but for this demonstration, 30 GB will be enough.
Keep everything else default unless you know what you are doing. Now, click on “Launch instance.”
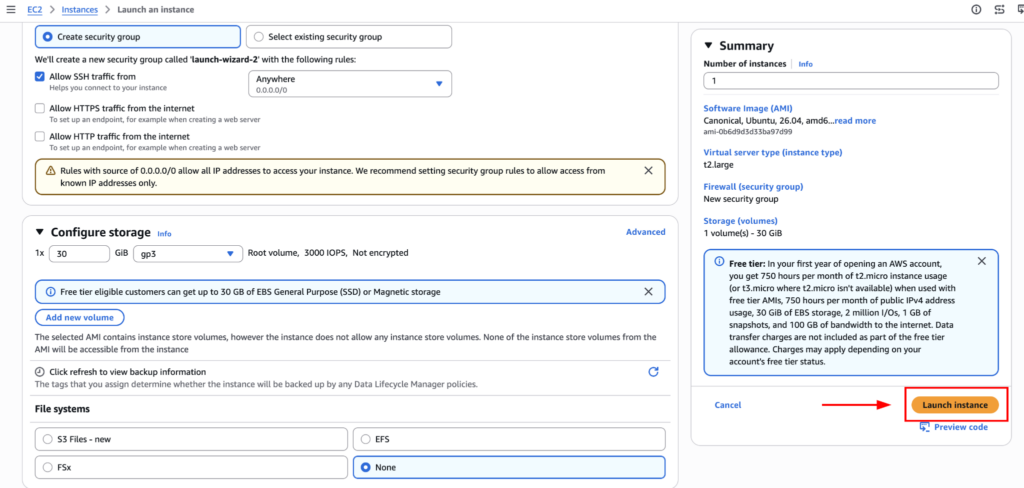
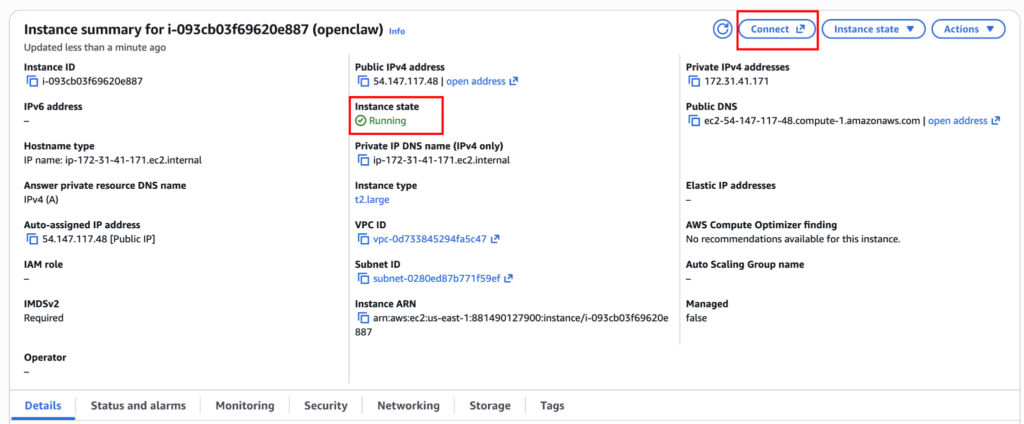
This will create the instance. Now, click on the instance name.

It will show you all the instance details. Now click on “Connect.”
Use “EC2 instance connect”, and click on “Connect”. This will open a browser-based SSH for that EC2 instance.
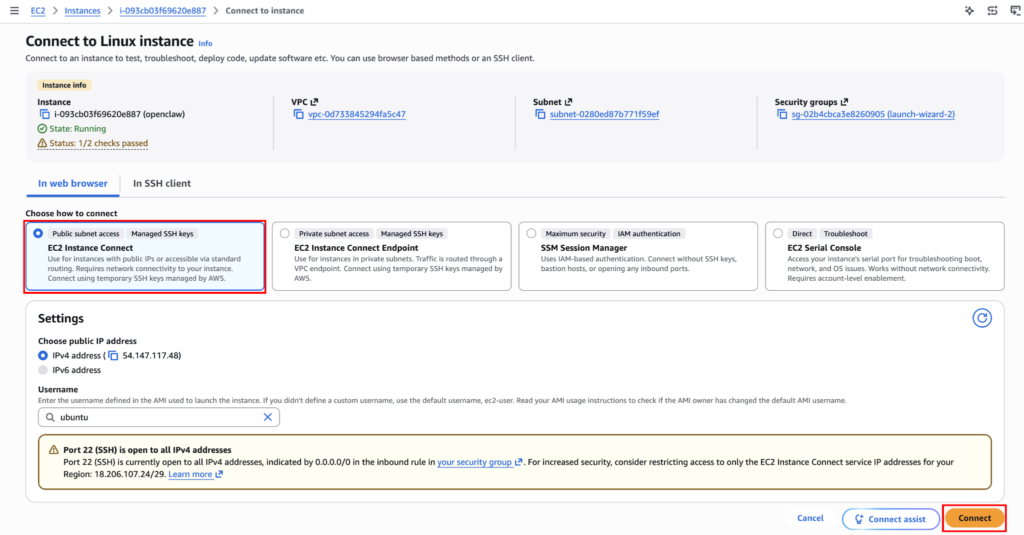
If everything is done correctly, you should see the browser-based terminal. If you encounter any problems, try connecting after a few minutes.
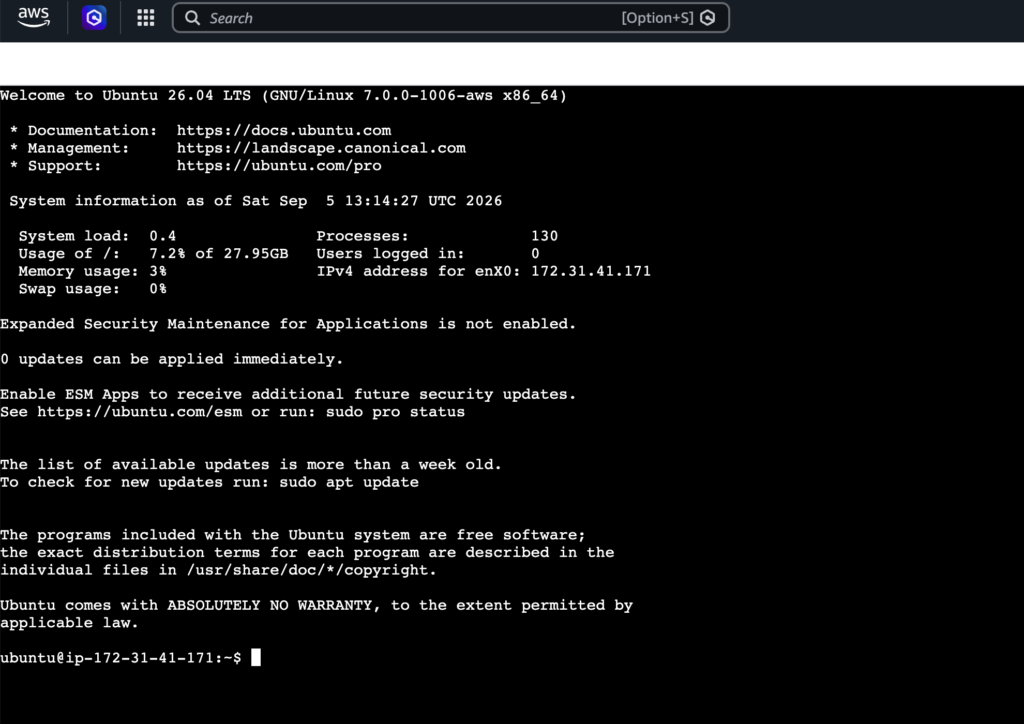
Step 2: Installing OpenClaw
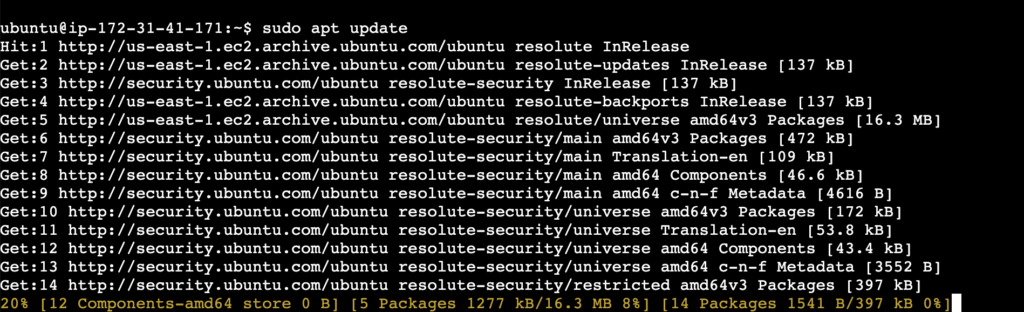
Now use the command sudo apt update to update the system packages.
Install openclaw with this command: curl -fsSL https://openclaw.ai/install.sh | bash. This will also install all the required packages.
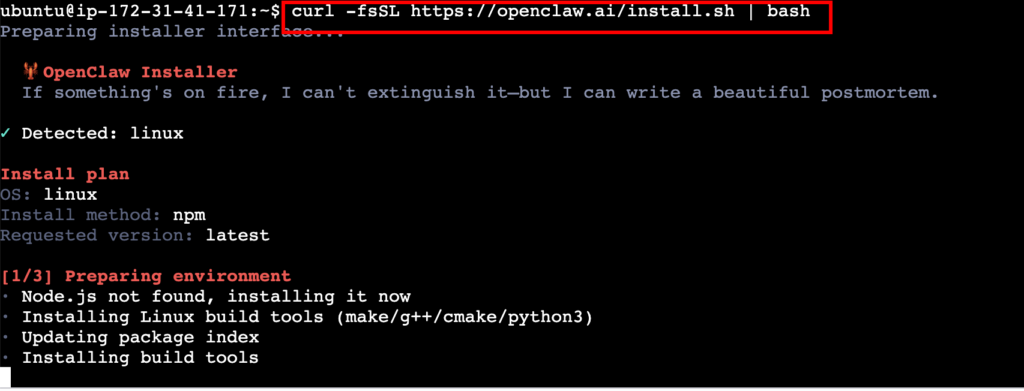
The installation may take some time, depending on the packages it has to install and the internet speed. After the installation is complete, the setup will automatically start.
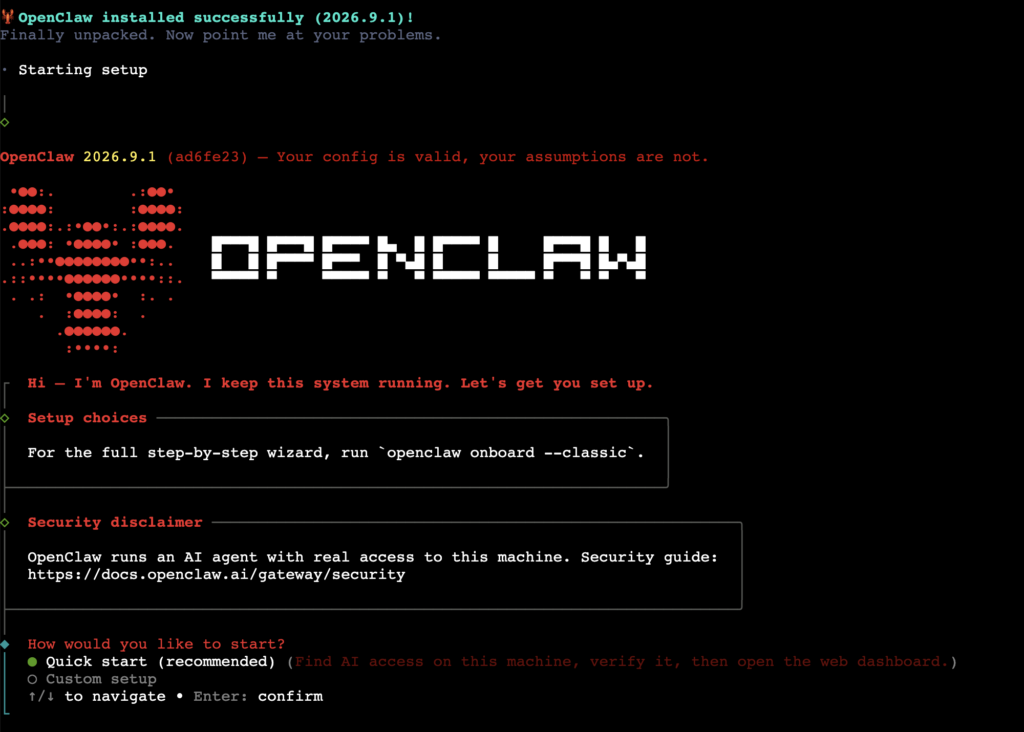
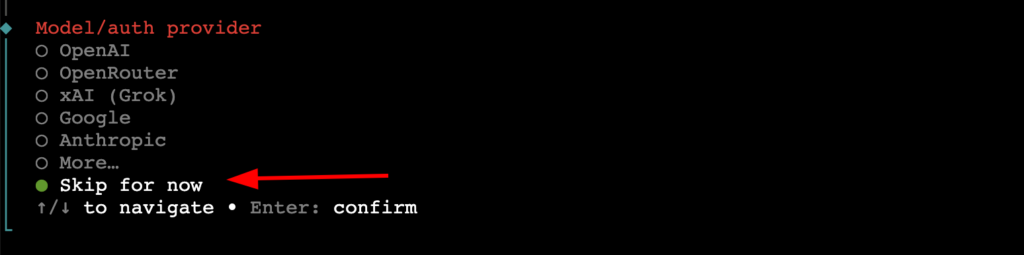
Click “Enter” for “Quick start”. If your machine already has AI installed, such as Claude Code or Codex, it will automatically detect it. As we are using a fresh EC2 instance, it has nothing preinstalled. You can also select the model/auth provider when prompted, and it will take you to the required steps and configure OpenClaw through that API. Since we will be using a custom API, we will select “Skip for now.”
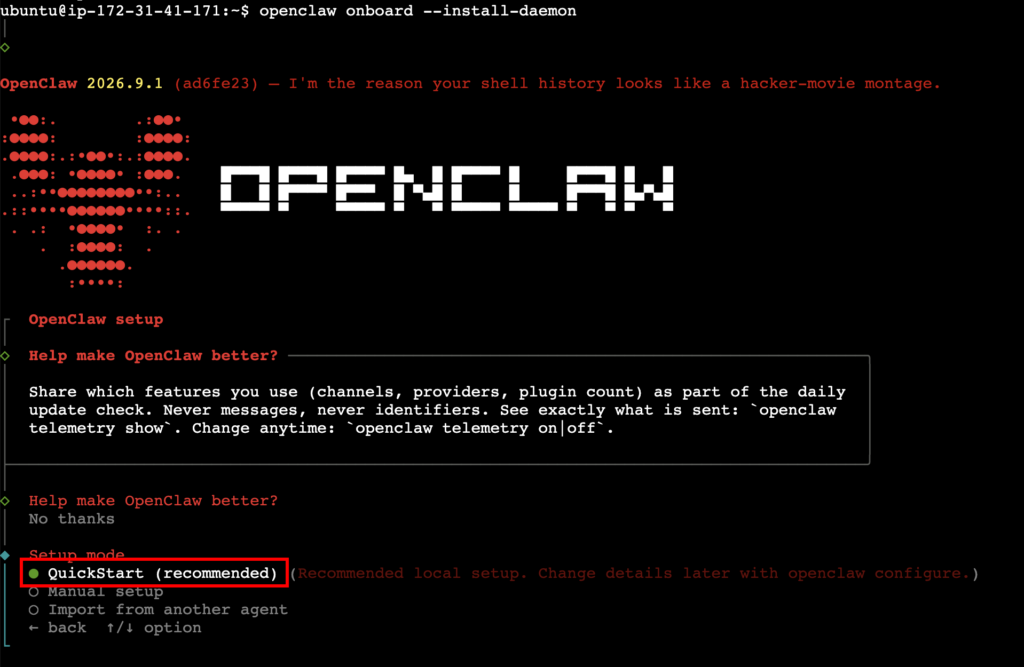
Doing that will exit the setup. Now type the command source ~/.bashrc, which will let you use openclaw in other terminals as well. After that, run the command openclaw onboard --install-daemon. This will relaunch the setup and install the openclaw daemon. So, openclaw will auto-run after reboot. Here, click on “QuickStart” as before.
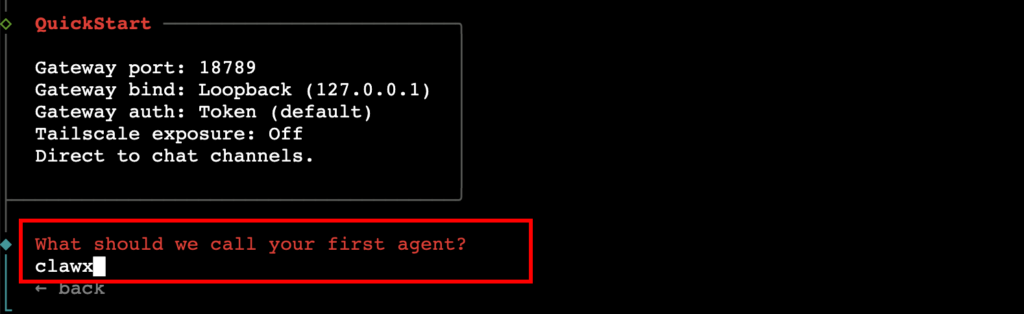
Next, it will ask you to name your agent. You can give it any name; I will call it “calwx”.
Next, for the “Model/auth provider” select “Skip for now”.
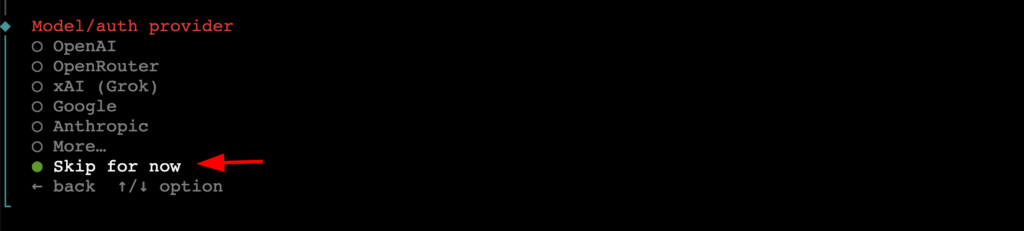
Here, select the “Keep current” and click Enter. We will change everything later in the config file.

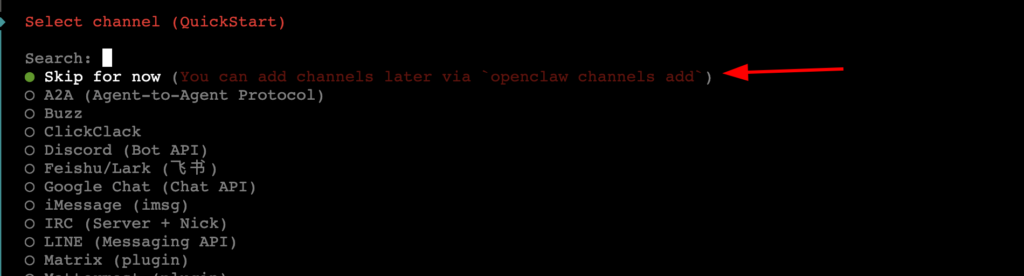
For the communication channel, also select “Skip for now.” We will connect to this after setting up the custom API.
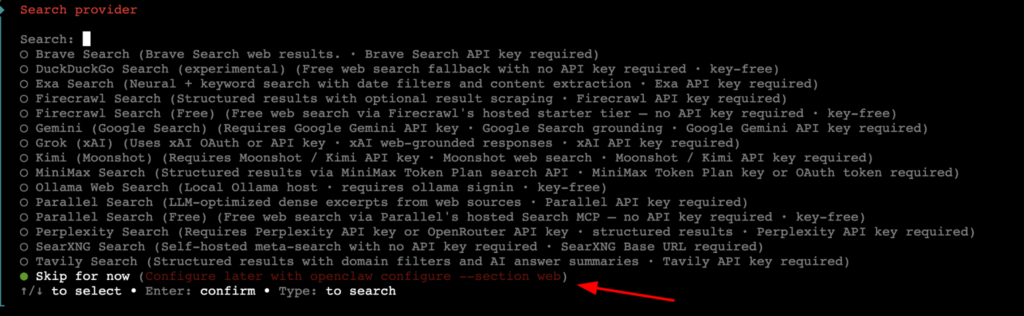
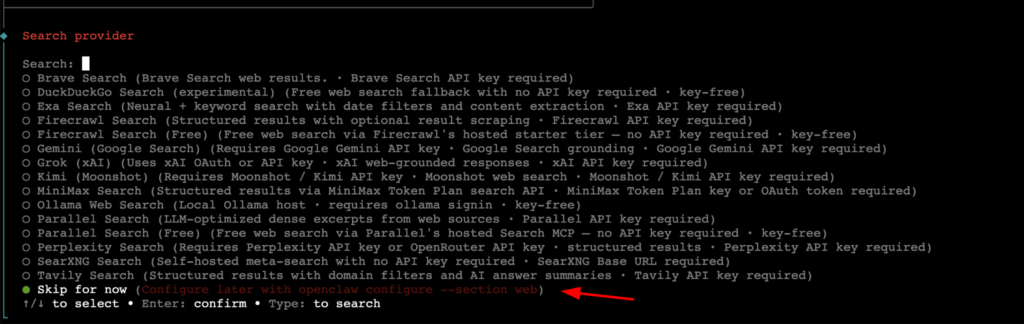
Also, skip the search provider.
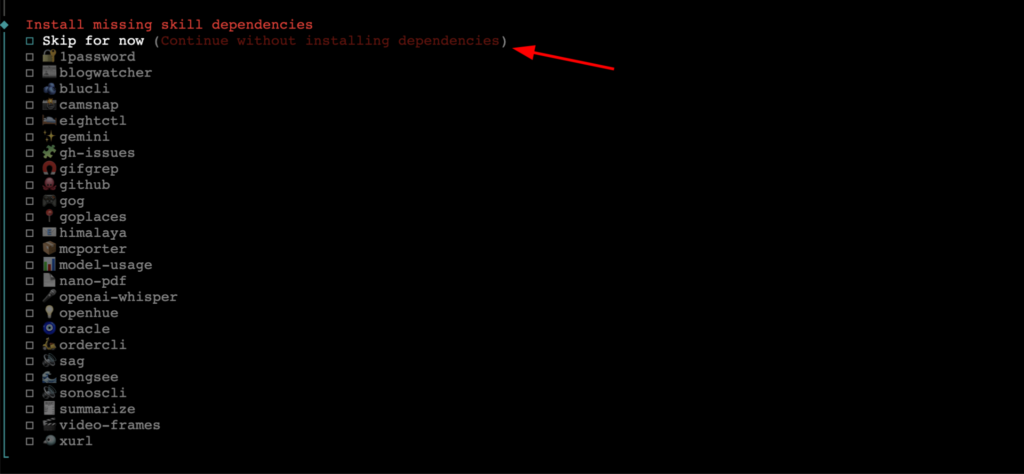
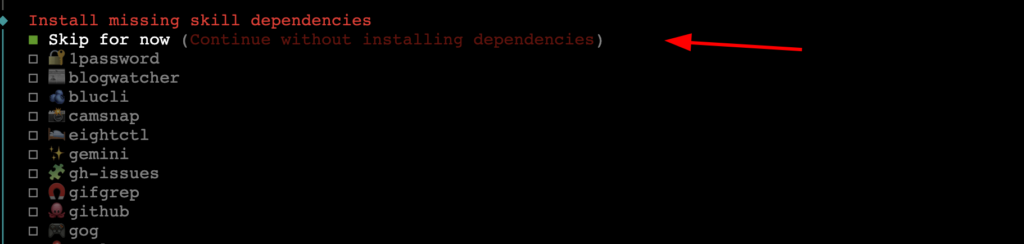
OpenClaw can use many skills (tools), which can be installed as needed. We are going to skip it for this demo.
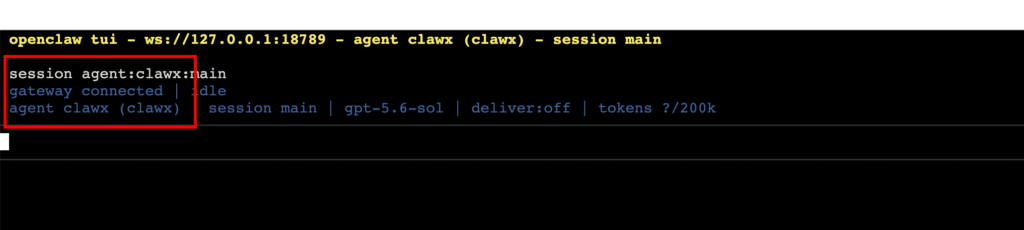
Once everything is done, it will take you to the screen below. Which means openclaw gateway is successfully running. Now press “Ctrl + C” twice to exit.
Step 3: Integrating API Providers with OpenClaw
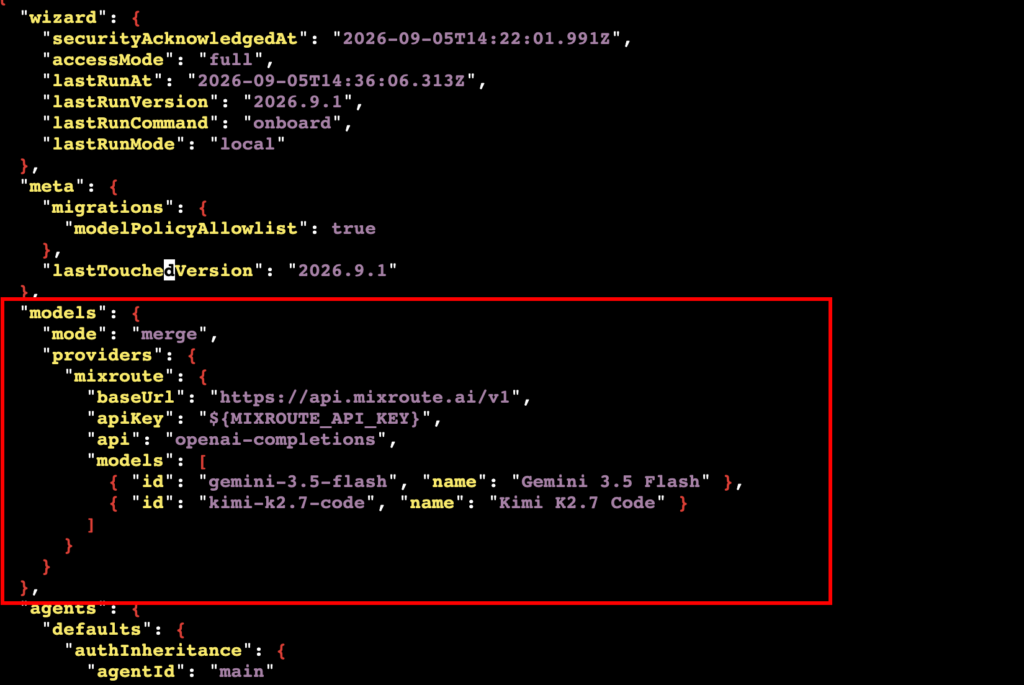
Now open the openclaw config file located in ~/.openclaw/openclaw.json. Inside the config file, before the “agents” block, add the code below.
  "models": {
    "mode": "merge",
    "providers": {
      "mixroute": {
        "baseUrl": "https://api.mixroute.ai/v1",
        "apiKey": "${MIXROUTE_API_KEY}",
        "api": "openai-completions",
        "models": [
          { "id": "gemini-3.5-flash", "name": "Gemini 3.5 Flash" },
          { "id": "kimi-k2.7-code", "name": "Kimi K2.7 Code" }
        ]
      }
    }
  },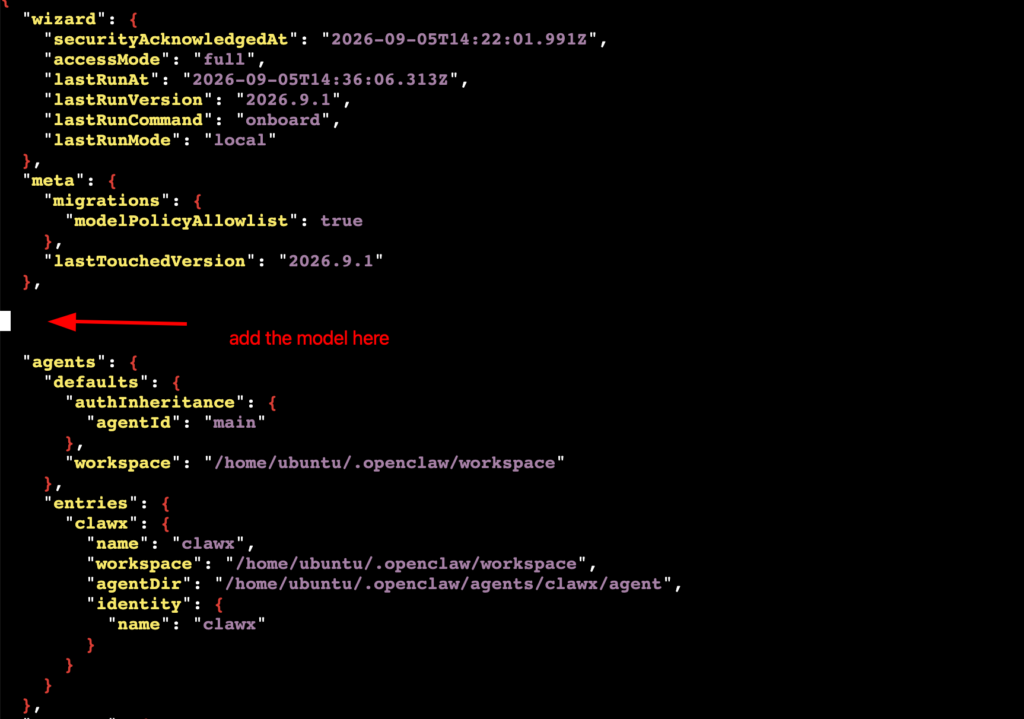
It will look like this.
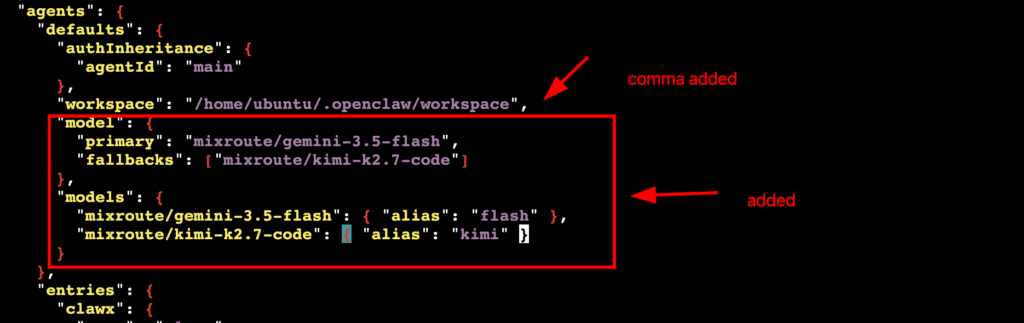
After that, inside the “agents” block, after the “workspace,” add a comma and add the code below. You can see how it will look in the image below.
      "model": {
        "primary": "mixroute/gemini-3.5-flash",
        "fallbacks": ["mixroute/kimi-k2.7-code"]
      },
      "models": {
        "mixroute/gemini-3.5-flash": { "alias": "flash" },
        "mixroute/kimi-k2.7-code": { "alias": "kimi" }
      }
Once done, save the changes.
Now navigate to your API provider, in this case “MixRoute AI”, and get the API key.
Note: Follow this link to get $5 sign up bonus (Free).
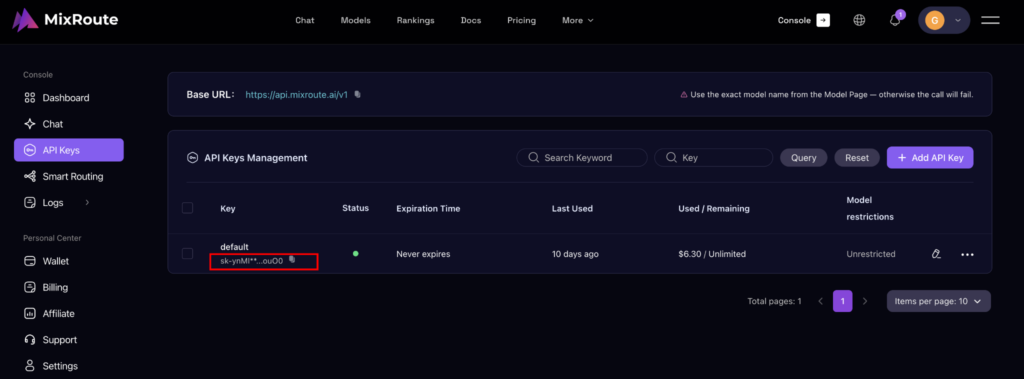
Now export the api key with the command export MIXROUTE_API_KEY="sk-ynMIyA—API-KEY–Whqvk2XouO0".

Note: For a different API provider, the process will be different. Follow their official doc for that.
Now, validate the config with the openclaw config validate command.

If there are no errors, restart the gateway using the openclaw gateway restart command.

Now run the command openclaw models list, and you will see the available models.

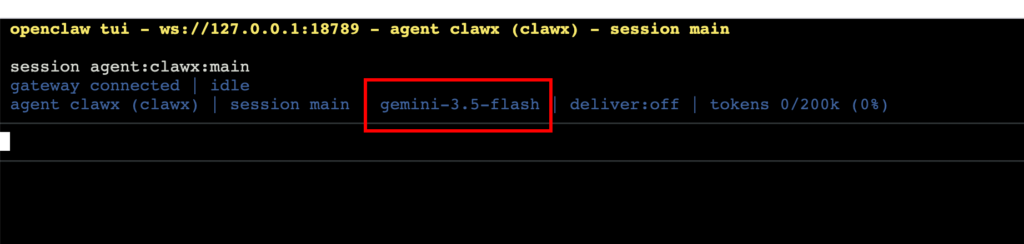
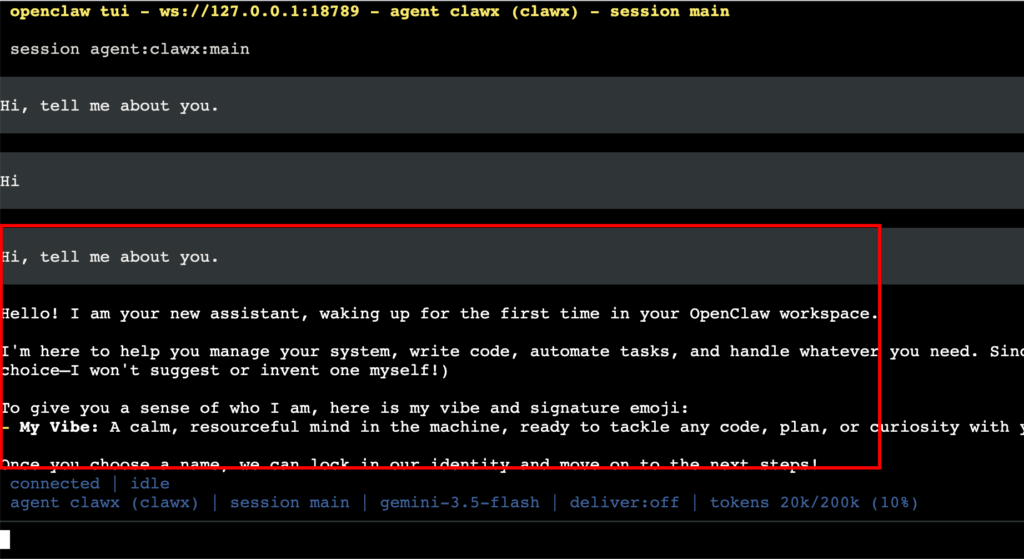
Run the command openclaw in the terminal to start openclaw TUI. You can see the model gemini-3.5 is selected.
Here, type any message you want. You will see that it’s showing a “run error”. This is because openclaw cannot see the API key.
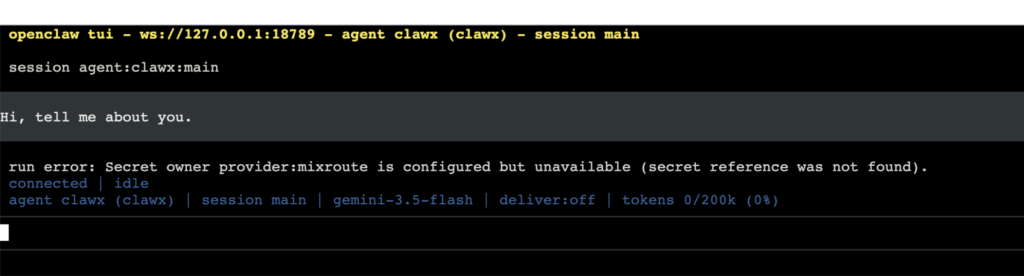
To fix that, we have to put the API key in an openclaw-specific env, as per openclaw’s recommendation. Run the command echo 'MIXROUTE_API_KEY=sk-ynMIy–API-KEY–vk2XouO0' >> ~/.openclaw/.env. Make sure to change it to your real API key.

Once it’s done, run the command openclaw secrets reload and openclaw gateway restart.
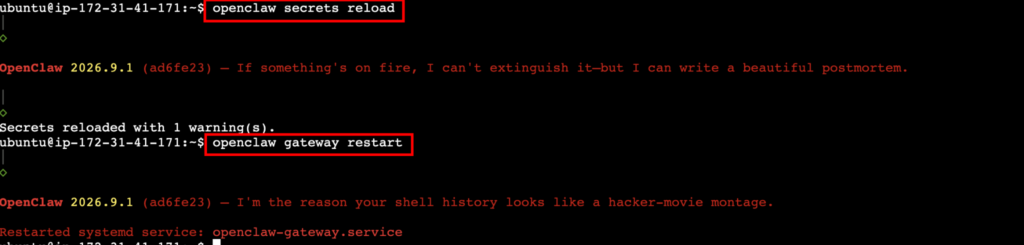
Now run openclaw again. And this time you will see it’s working as expected.
Step 4: Connecting OpenClaw to Telegram
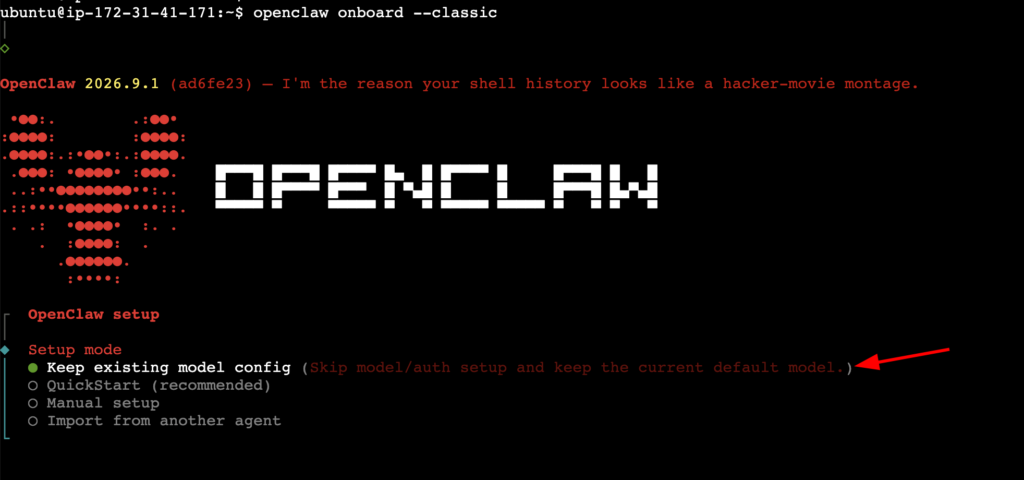
Now we are going to connect our OpenClaw with a Telegram bot. Doing that will allow us to control OpenClaw using Telegram. For that, run the command openclaw onboard --classic. And select “Keep the existing model config.”
It will ask to test AI access; select “No”.

When asked to select a channel, choose “Telegram (Bot API)”. You can also choose other options or even add later.
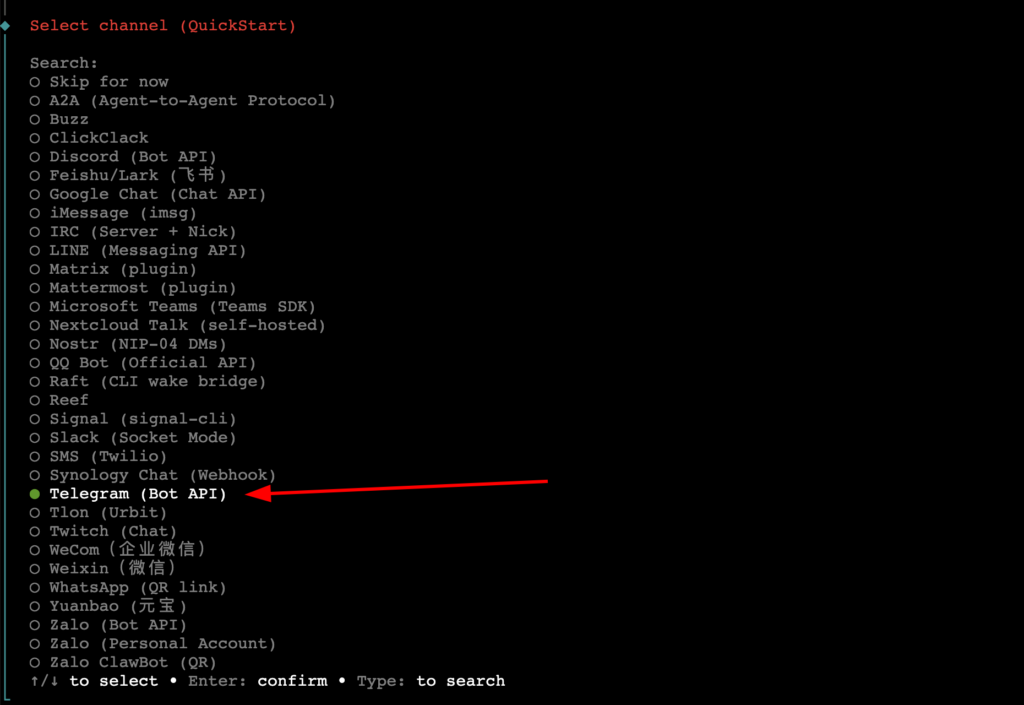
This will redirect you to this screen.
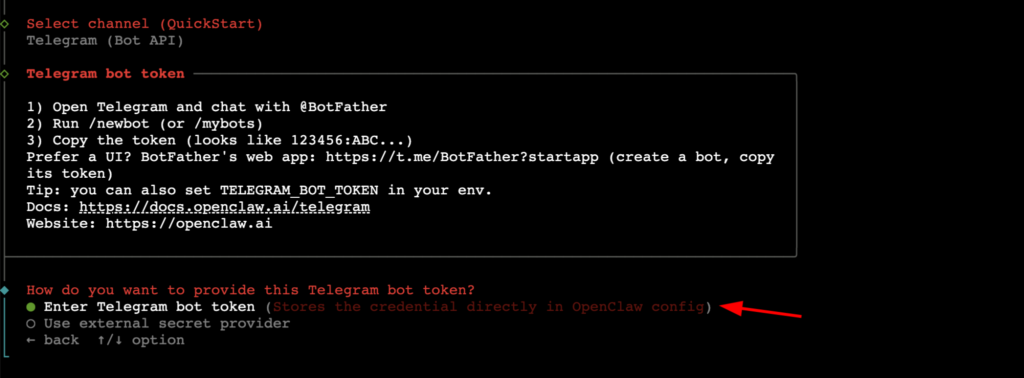
Now open Telegram and search for “@BotFather”. And enter “/newbot”, which will allow you to create a new bot in Telegram. Give your bot a name and a username. Doing that will give you an access token.
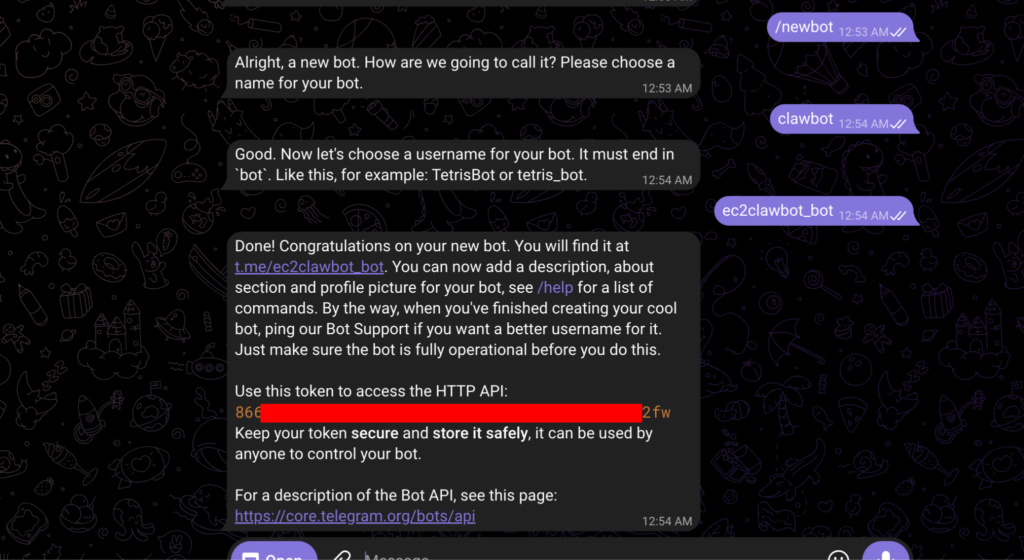
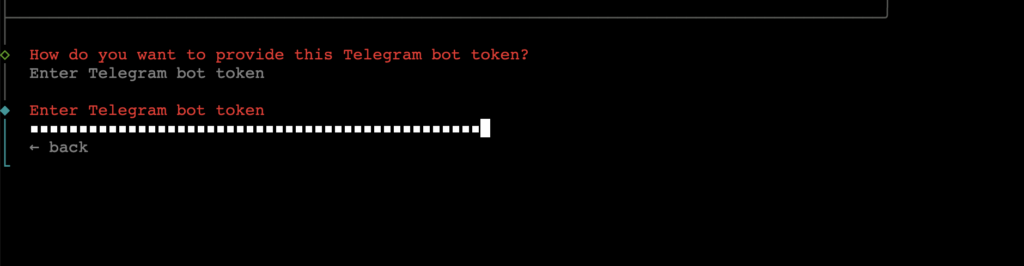
Now, press Enter in your terminal and paste the bot token.
For everything else, just select “Skip for now” and click enter.
Also, skip the skill section.
It will ask you to restart the gateway, select, and restart.

Now navigate to Telegram and click on your Telegram bot. After starting the bot, it will give you a pairing code.
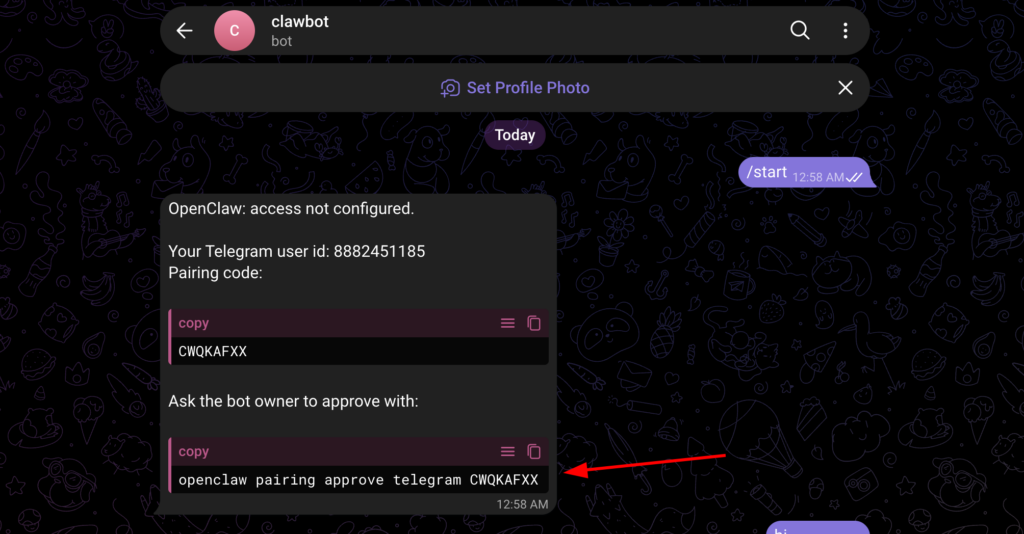
Copy and run the command in your terminal. Doing that will get your Telegram bot approved.

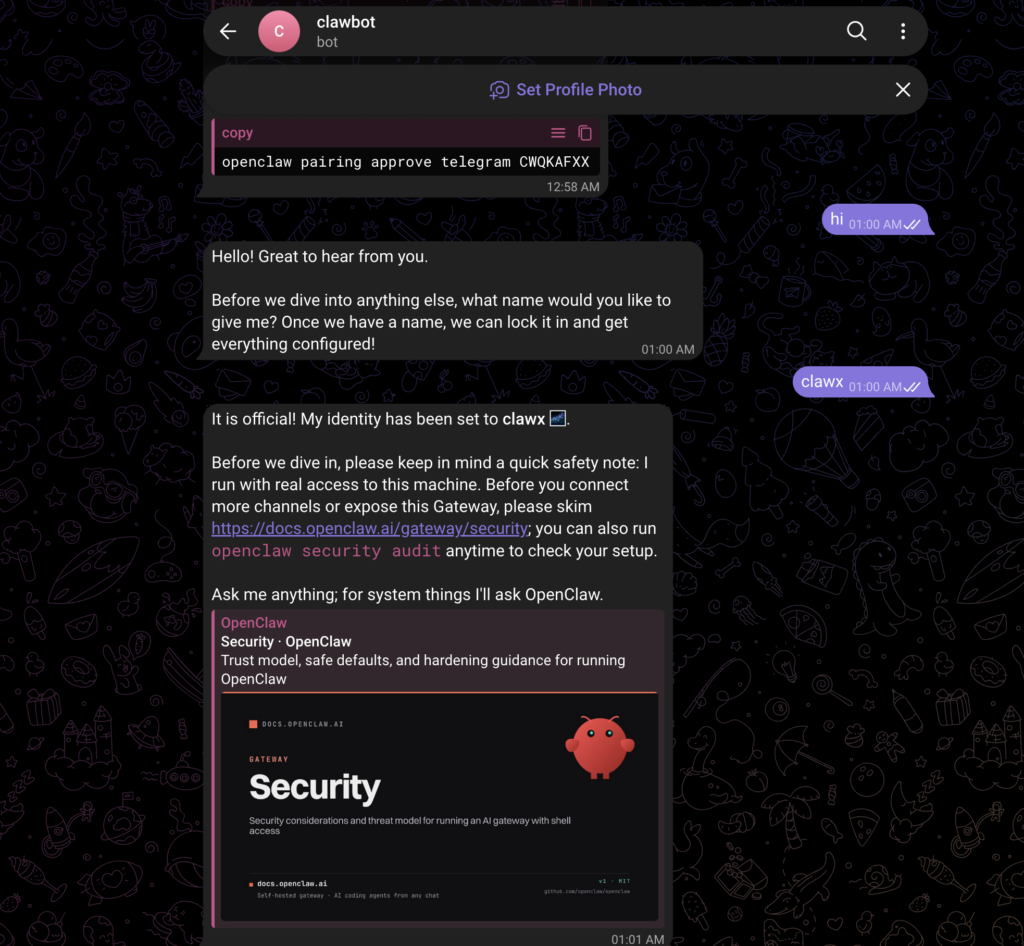
Now you can access your OpenClaw from a Telegram bot.
Best Practices for OpenClaw
Security
OpenClaw can access your entire system. It’s recommended to follow openclaw best practices and try it in a test environment before going to production. This article followed the easiest way to do it. If you want to maintain the best security practice, you may need to access the API keys through a secret provider.
Cost Management
OpenClaw itself is free to use, but AWS resources incur costs. You will also be charged based on your LLM API usage. It’s best to test the cost of both cloud resources and the LLM API before going into production.
Clean Up
After testing with OpenClaw, it’s best to terminate the instance to stop AWS billing. You can stop the instance, but in that case, you will have to pay for the storage. Select the instance and click on Instance state > Terminate instance.

If you want to delete the bot. Go to the bot father, type the command “/deletebot”. Then give the username of your bot. It will ask you to confirm. Once confirmed, your bot will be deleted.
It’s best to use separate LLM API keys for each use and destroy them after use.