Changing an EC2 key pair is a common task when a key is lost, compromised, or needs rotation for security reasons. However, AWS does not allow you to directly replace a key pair on an existing instance with one click. The process depends on whether the instance is running, stopped, or completely inaccessible.
In this article, you will learn two primary practical and real-world methods to change an EC2 key pair safely.
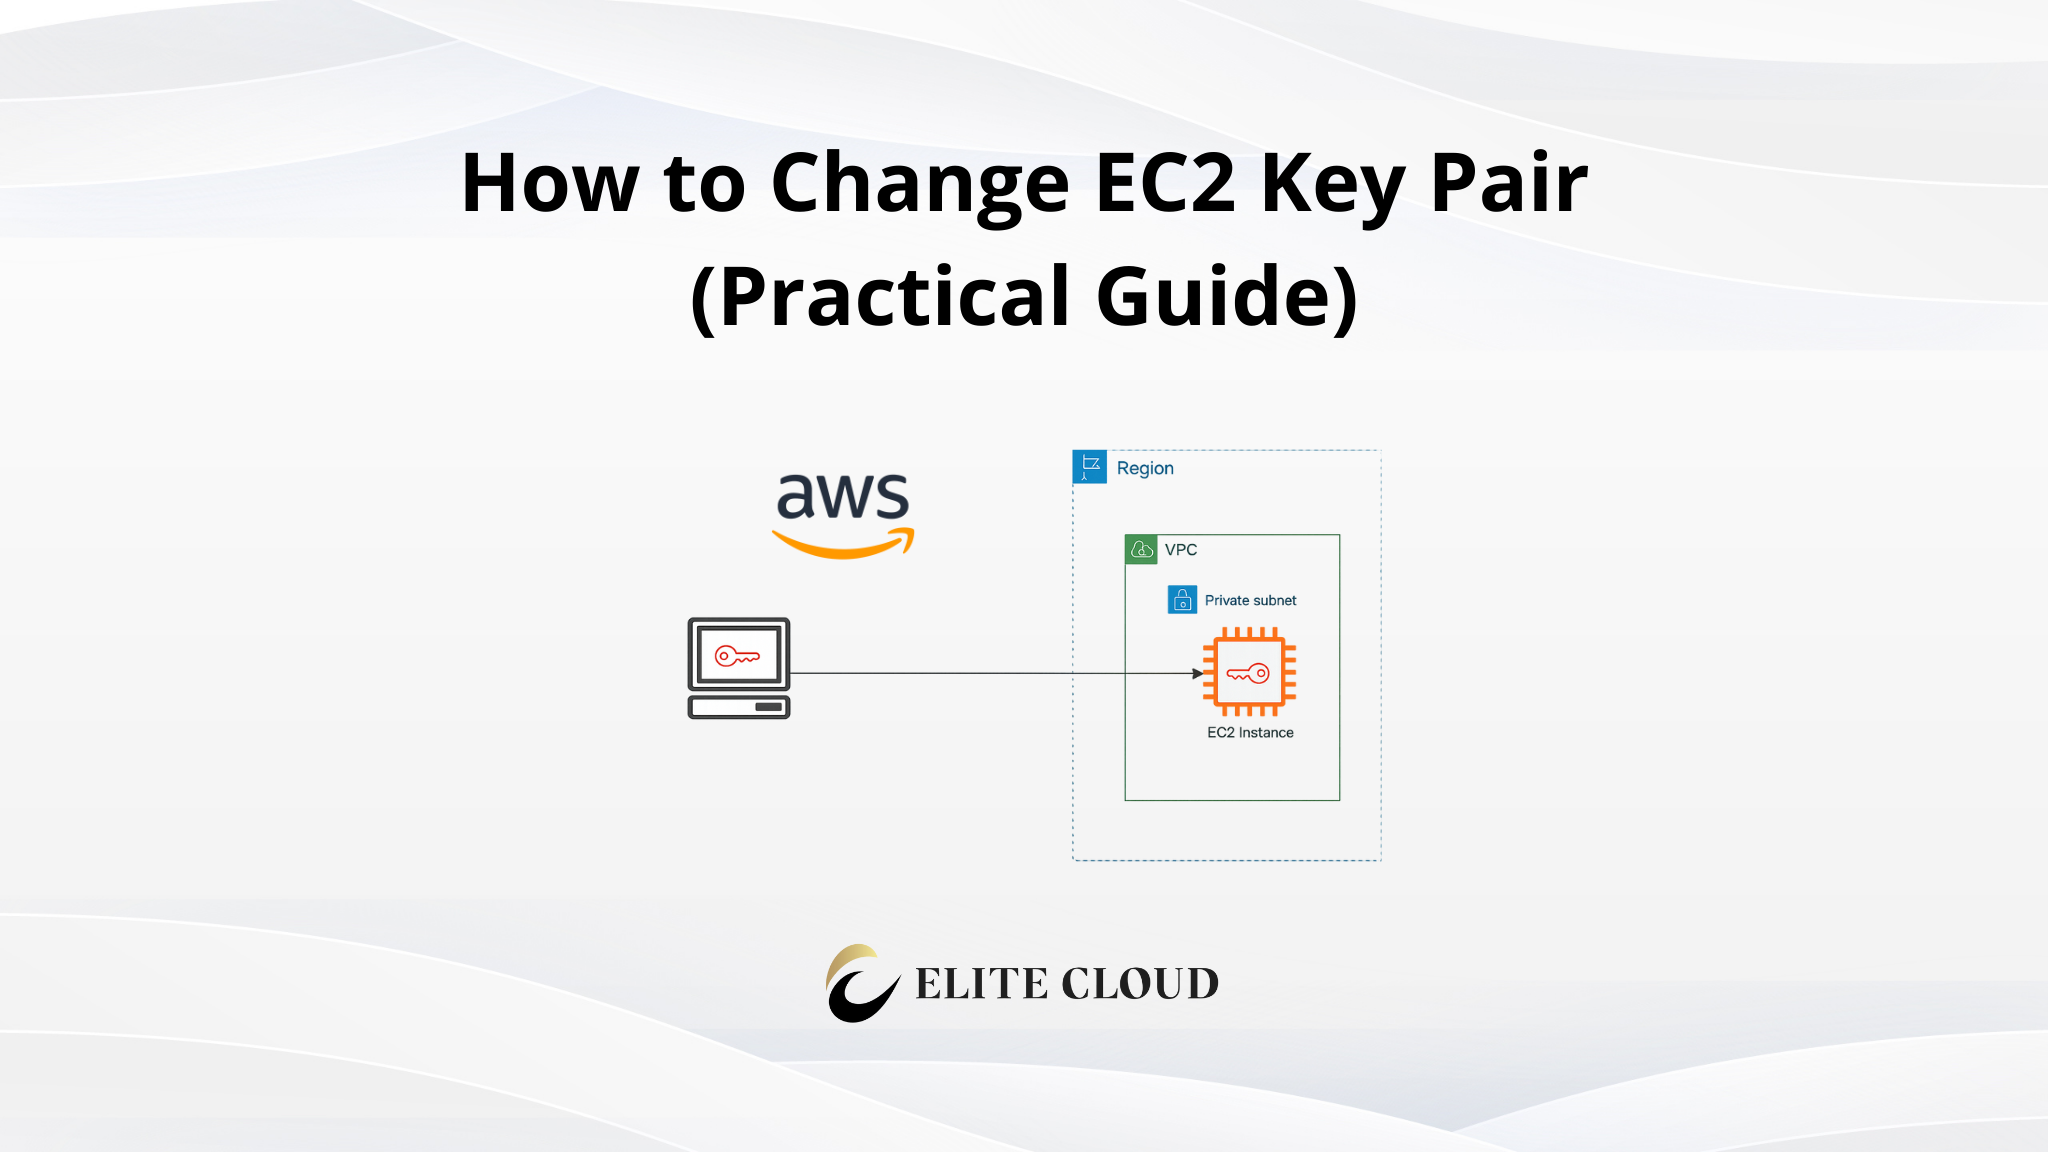
What Is an EC2 Key Pair?
An EC2 key pair is used for secure authentication when connecting to a Linux or Windows EC2 instance. It has a public key that’s stored on the instance and a private key, which you get to download when creating the instance. Then, using the private key, you can connect to the instance.
Important Things to Know Before Changing the Key Pair
Before proceeding, understand these critical points:
- You cannot directly change the key pair of a running instance from the console.
- The method differs for Linux and Windows instances.
- You must have some level of access or be able to stop the instance.
- Always create a new key pair first before removing the old one.
Supported Methods to Change an EC2 Key Pair
| Situation | Recommended Method | Reliability |
| The instance is running and accessible | Update authorized_keys manually | Always works |
| Lost access completely | Root volume recovery | Always works |
Method 1: Update authorized_keys (Primary and Safest Method)
This is the most reliable and recommended method if you still have SSH access.
When to Use
- Instance is running
- You can SSH using the old key
- Linux-based instance
Step 1:
Create a new key pair using the AWS console or any third-party tool. We are going to do it using the AWS console. Now navigate to EC2 dashboard > Network & Security > Key Pairs, and click on the “Create key pair” button.

Now, enter a name and keep everything else at its default setting.

Step 2:
Now, inside the terminal, let’s create a public key using the private key you’ve just created. Use this command: ssh-keygen -y -f replacement-key.pem > replacement-key.pub to create a public key. If you face any warning message, use the command chmod 600 replacement-key.pem to update the permission.

After getting the public key, you need to connect to the instance using the existing private key with the command `ssh -i old-key.pem user@instance-ip`. And open the authorized key files located in `~/.ssh/authorized_keys`. Paste the new public key into the authorized_keys file and save it.

Note: If you see any warning message while connecting using SSH, make sure to update the private key permission to chmod 600 old-key.pem.
Now try to connect to the instance using the new private key. And if you connect successfully, remove the first public key from the authorized_keys file.

This method can be executed without downtime if done correctly. However, be sure to delete the previous public key only after confirming that the new key is working.
Method 2: Root Volume Recovery (Universal Recovery Method)
This method is used when you have completely lost the key. For this, we are going to detach the instance volume (EBS) and attach that instance volume to a new EC2 instance. There, we will mount the volume and change the public key as we did in the previous method. After changing the key, we are going to detach the volume from the new EC2 instance and reattach it to the old instance.
When to Use
- No SSH access
- Instance cannot be logged into
- Production recovery scenario
Example Commands (on helper instance)
Step 1:
Stop the instance so we can detach the instance volume.

Now detach the volume from Actions > Storage > Detach Volume.

It will ask you to select the volume you want to detach.

Step 2:
Now, attach the detached instance volume to the new EC2 instance using Actions > Storage > Attach volume.

You should make sure the newly launched instance and the old instance are in the same region and the same availability zone. Otherwise, you won’t be able to see the volume when reattaching.
Now select the volume and device name (the volume will get mounted by this name), and click on “Attatch volume”.

Step 3:
Log in to the new instance and mount the volume. First, create a directory using sudo mkdir /mnt/recovery. Now look for the volume partition using lsblk -f, and select the one that’s not the primary volume. You can get the original instance volume name, then choose the other one.

Now use the command sudo mount /dev/xvdb1 /mnt/recovery/ to mount the partition. Make sure you use the command lsblk -f to get the specific disk name; it will be ext4 for the Linux main partition.

After mounting, you can change the authorized_keys using the command sudo vim /mnt/recovery/home/admin/.ssh/authorized_keys. Here we are going to put the previous public key that we changed in method one.

Once done, unmount the volume using the command sudo umount /mnt/recovery.
Step 4:
Now let’s detach the volume from the new EC2 instance and reattach it to the old EC2 instance using the same process as before. After attaching the volume, start the EC2 instance, and you should be able to connect to the instance using SSH.

In this method, you are directly modifying the disk, bypassing SSH entirely. But this has downtime. If you want to minimize the downtime, you can make a clone instance, then rotate the IP address after recovering the SSH key.
Conclusion
Changing an EC2 key pair is not a single AWS action. It is an access management task that depends on how the instance is configured and whether you still have access. It is always recommended to seek expert help in a critical environment.
Managing EC2 Key Rotation in a Production Environment?
Elite Cloud provides expert guidance on secure EC2 key pair rotation, emergency access recovery, and zero-downtime best practices for critical workloads.
👉 Talk to the Elite Cloud team and protect your production instances with confidence.